Hot or Cold Compress for Injuries

Hot or Cold Compress for Injuries by Famhealth

There is so much confusion about this issue because therapeutic icing and heating — cryotherapy and thermotherapy — are rational, cheap, easy, safe self-treatment options for many common painful problems.

Ice is for fresh injuries, and heat is for stiff, aching muscles.

Ice is for injuries — calming down damaged superficial tissues that are inflamed, red, hot, swollen, pain or if it is bleeding/ post surgical pain. The inflammatory process is a healthy, normal, natural process; that also happens to be incredibly painful and more biologically stubborn than it needs to be. Icing is mostly just a mild, drugless way of dulling the pain of inflammation and taking swelling down a bit. Examples: a freshly pulled muscle.

Heat is for muscles, chronic pain, and stress — taking the edge off symptoms like muscle aching and stiffness, which have many unclear causes, but trigger points are probably one of the usual suspects. Chronic pain, especially back pain, often involves lots of tension, anxiety, hyper vigilance, and sensitization, and comfortable heat can soothe a jangled mind and nervous system. Stress and fear are major factors in many painful problems, of course.

Alternating between applications of ice and heat is called contrasting therapy. It’s extremely stimulating and is mostly used to facilitate injury recovery, with unknown efficacy.

What ice and heat are not for

Both ice and heat have the potential to do some minor, temporary harm when used poorly. Heat can make inflammation significantly worse. Ice can aggravate symptoms of tightness and stiffness; it can also just make any pain worse when it’s unwanted.

Both ice and heat are pointless or worse when unwanted: icing when you’re already shivering, or heating when you’re already sweating. The brain may interpret an excess of either one as a threat, but icing is more threatening and when brains think there’s a threat, they may also amp up the pain. Ice seems to be feel more threatening to most people.

Trigger points (painfully sensitive spots) can be surprisingly intense and easily mistaken for “iceable” injury and inflammation. But if you ice trigger points, they may burn and ache even more acutely. This mistake is made particularly often with low back pain and neck pain — the very conditions people often try to treat with ice.

Heat and inflammation are the other particularly bad combination.
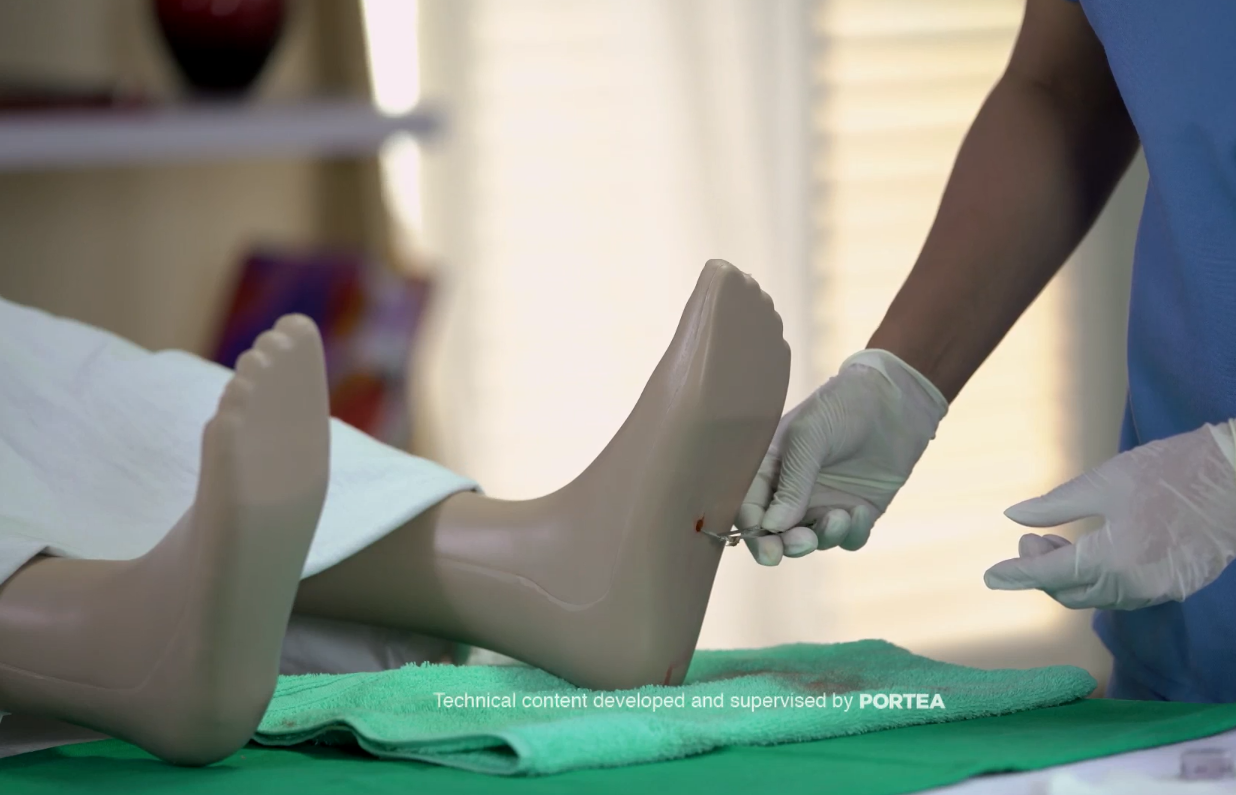
How to use Ice

After an acute injury, such as an ankle sprain, or after activities that aggravate a chronic injury, such as shin splints.

Use an ice bag with cubed ice, ice pack or ice massage. When using an ice pack that does not have real ice cubes,use a thin towel between the ice pack and the skin to prevent frostbite.

Do not use ice longer than 20 minutes at a time. More time spent icing does not mean more relief. Be sure the area goes numb, then make sure the skin returns completely back to normal before reapplying.
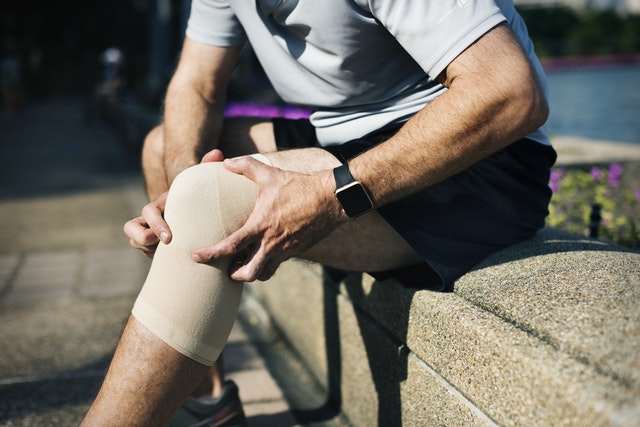
How to apply heat

Before activities that aggravate​ chronic injuries, such as muscle strains. Heat can help loosen tissues and relax injured areas.

Apply heat using a heating pad or a hot wet towel.

No more than 20 minutes at a time. Never apply heat while sleeping. Be careful not to burn yourself.

To read more on First Aid, click on the link below.

First Aid

How to Remove Water from your Ear

How to Remove Water from your Ear by Famhealth

If water does get trapped in your ear, you can try several at-home remedies for relief:

Jiggle your earlobe

This first method may shake the water out of your ear right away. Gently tug or jiggle your earlobe while tilting your head in a downward motion toward your shoulder. You can also try shaking your head from side to side while in this position.

Make gravity do the work

With this technique, gravity should help the water drain from your ear.Lie on your side for a few minutes, with your head on a towel to absorb the water. The water may slowly drain out of your ear.

Create a vacuum

This method will create a vacuum that may draw the water out.

  • Tilt your head sideways, and rest your ear onto your cupped palm, creating a tight seal.
  • Gently push your hand back and forth toward your ear in a rapid motion, flattening it as you push and cupping it as you pull away.
  • Tilt your head down to allow the water to drain.

Apply a hot compress

  • Using hot but not scalding water, wet a washcloth. Make sure to wring out the washcloth before using it so that it doesn’t drip.
  • Tilt head downward on the affected side and apply the cloth to the outside of the ear. Leave it on the ear for about 30 seconds, and then remove it for a minute.
  • Repeat these steps four or five times. It may help to sit up or lie down on the side opposite of the affected side of your body afterward.

Use a blow dryer

The heat from the dryer can help evaporate the water inside the ear canal.

  • Set the blow dryer to its lowest setting.
  • Hold the hair dryer about a foot away from the ear and move it in a back-and-forth motion.
  • While tugging down on the earlobe, let the warm air blow into the ear.

Try alcohol and vinegar eardrops

The alcohol can help evaporate the water in your ear. Alcohol also works to eliminate the growth of bacteria, which can help prevent infection. If the trapped water occurs due to earwax buildup, the vinegar may help remove it.

  • Combine equal parts alcohol and vinegar to make eardrops.
  • Using a sterile dropper, apply three or four drops of this mixture into the ear.
  • Gently rub the outside of the ear.
  • Wait 30 seconds, and tilt the head sideways to let the solution drain out.

Use hydrogen peroxide eardrops

Hydrogen peroxide can help clear debris, earwax, bacteria, or trapped water from your ear.

  • Using a clean dropper, place three to four drops of hydrogen peroxide into your ear.
  • Wait two to three minutes.
  • Tilt the affected side downward, allowing the fluid to drain out.

Don’t use this method if you think you have any of these conditions:

  • an outer ear infection, perforated eardrum and eardrum tubes.

Try olive oil

Olive oil can also help prevent ear infection, as well as repel water out.

  • Warm some olive oil in a small bowl.
  • Using a clean dropper, place a few drops of the oil into the affected ear.
  • Lie on the  other side for about 10 minutes, and then sit up and tilt the ear downward. The water and oil should drain out.

Yawn or chew

When water gets stuck, moving your mouth can sometimes help to open the tubes. Yawn or chew gum to relieve tension in your Eustachian tubes.

Perform the Valsalva maneuver

This method can also help open closed eustachian tubes. Be careful not to blow too hard. This can damage your ear drum.

  • Close your mouth and gently squeeze your nostrils shut with your fingers.
  • Breathe deeply, and slowly blow the air out of the nose. If popping sound noticed,  it means the Eustachian tubes have opened.
  • Tilt your head to allow the water to drain from your ear.

Use steam

Warm steam can help release water from your middle ear through your eustachian tubes. Try taking a hot shower, or giving yourself a mini sauna with a bowl of hot water.

  • Fill a large bowl with hot steaming water.
  • Cover your head with a towel to keep the steam in, and hold your face over the bowl.
  • Inhale the steam for 5 or 10 minutes, and then tilt your head to the side to drain your ear.
  • 12. Try more water

This technique may sound illogical, but it can actually help draw water out of your ear.

  • Lying on your side, fill the affected ear with water using a clean dropper.
  • Wait five seconds and then turn over, with the affected ear facing down. All of the water should drain out.

To read more on First Aid, click on the link below.

First Aid

First Aid for Thorns and Glass

First Aid for Thorns and Glass by Famhealth

Stop the Bleeding

  • Apply direct pressure on the area.

Clean and Protect

  • Clean the area with warm water and gentle soap.
  • Use tweezers cleaned with rubbing alcohol to remove the object.
  • If the object is under the surface of the skin, sterilize a clean, sharp needle by wiping it with rubbing alcohol. Use the needle to gently lift or break the skin over the object. Lift the tip of the object out and grasp it with your tweezers.
  • Squeeze the wound gently to allow bleeding to wash out germs.
  • Apply an antibiotic ointment to reduce chance of infection.
  • Put a sterile bandage on the area.

Follow Up

  • For a minor cut, remove bandage after a couple of days to promote healing.
  • See a health care provider if the cut doesn’t heal or shows signs of infection, including redness, swelling, pus, or excessive pain.
  • Having said all this do not forget to take TETANUS immunization BY DOCTOR.

To read more on First Aid, click on the link below.

First Aid