Sponge Bath

Sponge Bath by Famhealth

Sponge baths, or bed baths, are used to bathe people who are bedridden or unable to bathe on their own due to health reasons.

Preparing to Give the Bath

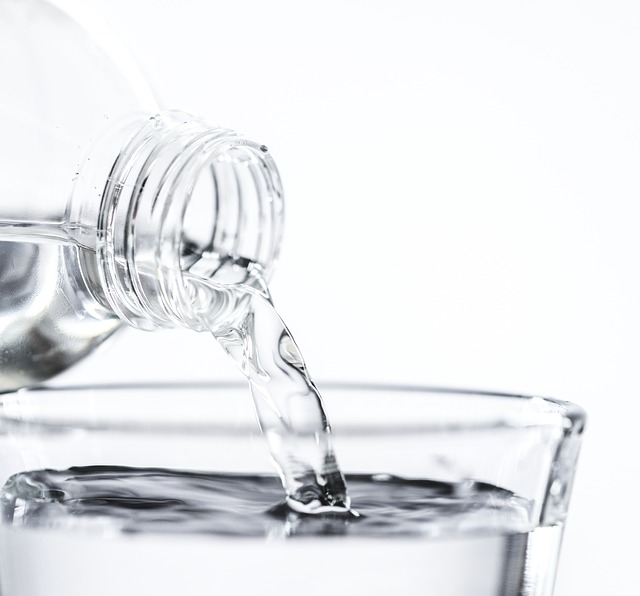
  • Fill two basins or washtubs with warm water. One is used for washing, and the other for rinsing. The water temperature should be 115 degrees F (46 degrees C) or less. You want it to be comfortable to the touch, but not too hot.
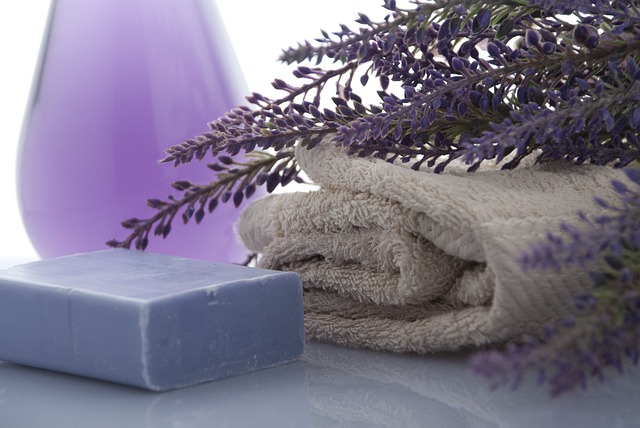
  • Choose soap /Wash gel/shampoo that’s easy to rinse away. 
  • Avoid using soap that has exfoliating beads or other substances that could end up staying on the patient’s skin and causing irritation.

Steps

  • Place two towels under the patient. This will prevent the bed from getting wet and keep the patient comfortable during the process. To place the towels under the patient, lift the patient onto their side and scoot the towel under, then carefully lower the patient and do the same on the other side.
  • Cover the patient with a clean sheet or towel. This will ensure the patient stays warm during the bath as well as providing some privacy. The sheet or towel will stay on the patient’s body the whole time.
  • Be sure to adjust the temperature in the room if necessary, to prevent the patient from getting a chill.
  • Remove the patient’s clothes. Fold down the sheet or towel, uncovering the patient’s top half, and remove their shirt. Replace the sheet over the top half of the patient. Fold the sheet back from the patient’s legs and remove their pants and underwear. Recover the patient with the sheet.
  • Try to keep as much of the patient covered as possible while you’re removing the clothes.
  • Keep in mind that this process can be embarrassing for some people, so try to work quickly and with a purposeful attitude.

Bathing the Head, Chest and Legs

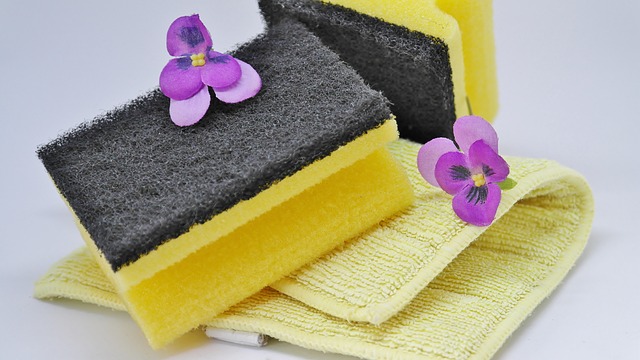
  • Use the same cleansing and rinsing method for the whole body. First apply soap or soapy water to the patient’s skin. Scrub it gently with a washcloth to remove dirt and bacteria, then place the washcloth in the soapy basin. Dip a second washcloth into the rinsing basin and use it to rinse away the soap. Pat the area dry with a towel.
  • Remember to rotate between the two washcloths: use one for soaping and one for rinsing. If the cloths become soiled, switch to clean ones.
  • Replace the water in the basins as necessary.
  • Start with the patient’s face. Gently wash the patient’s face, ears and neck with soapy water. Rinse away the soap with a separate washcloth. Dry the cleansed area with a towel.
  • Wash the patient’s hair. Gently lift their head into the shampooing basin. Wet the hair by pouring water over the patient’s head, taking care not to get it in their eyes. Apply shampoo, then rinse it away. Pat the hair dry with a towel.
  • Wash the patient’s left arm and shoulder. Fold over the sheet on the left side of the body down to the hip. Place a towel beneath the exposed arm. Wash and rinse the patient’s shoulder, underarm, arm and hand. Dry the wet areas with a towel.
  • Dry the washed areas thoroughly, especially the underarm, to prevent chafing and bacteria growth
  • Recover with the sheet to keep the patient warm.
  • Wash the patient’s right arm and shoulder. Fold over the sheet to expose the right side. Place the towel beneath the other arm and repeat, washing, rinsing and drying the right shoulder, underarm, arm and hand.
  • Dry the washed areas thoroughly, especially the underarm, to prevent chafing and bacteria growth
  • Recover with the sheet to keep the patient warm.
  • Wash the patient’s torso. Fold the sheet down to the waist and gently wash and rinse the chest, stomach and sides. Be sure to wash carefully among any folds in the patient’s skin, since bacteria tends to get trapped there. Dry the torso carefully, especially among the folds.
  • Recover the patient with the sheet to keep the patient warm.
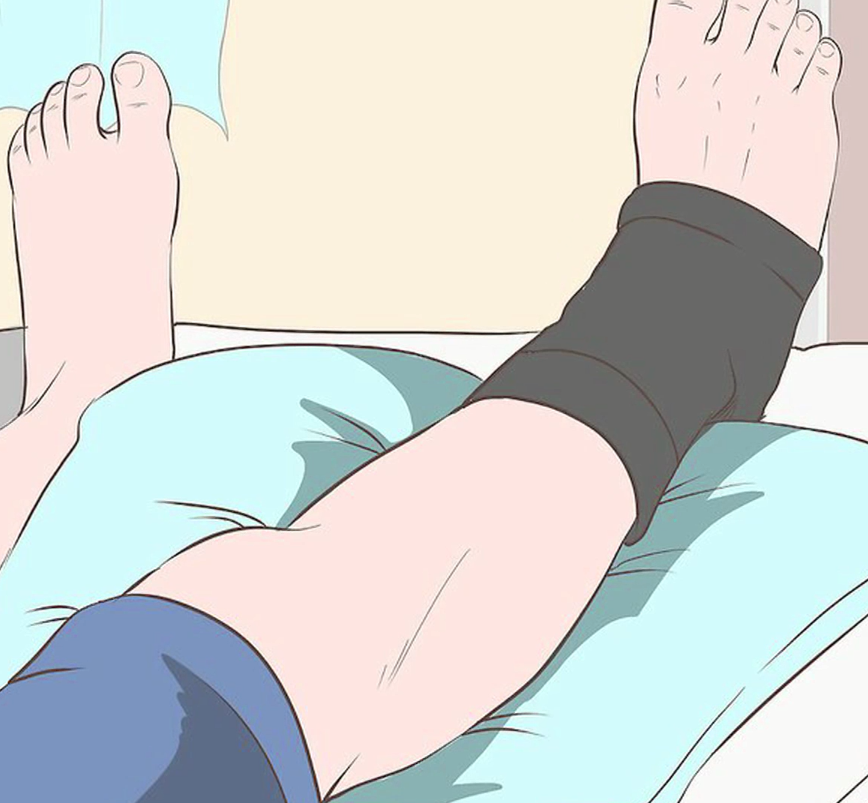
  • Wash the patient’s legs. Uncover the patient’s right leg up to the waist, and wash, rinse and dry the leg and foot. Recover the right leg and uncover the left, then wash, rinse and dry the leg and foot. Recover the lower half of the body.

Bathing the Back and Private Area

  • Empty the water basins and refill with clean water. Since approximately half the patient’s body is now clean, it’s a good time to refill the water.
  • Ask the patient to roll on their side if they are able. You may have to assist the person. Make sure they are not too close to the edge of the bed.
  • Wash the patient’s back and buttocks. Fold the sheet over to expose the entire back side of the patient. Wash, rinse and dry the back of the patient’s neck, back, buttocks and parts of the legs you may have missed.
  • Wash the genital area and anus. Put on latex gloves if desired. Lift the person’s leg and wash from front to back. Use a clean washcloth to rinse the area. Be sure to clean thoroughly between folds, and dry the area thoroughly as well.
  • Males should be washed behind the testicles. Wash female’s labia, but there’s no need to clean the vagina.
  • This part of the body should be washed every day, even when you’re not giving a full-body bed bath.
  • Redress the patient. When you’re finished, dress the patient in clean clothes or a robe. First replace the patient’s shirt, keeping the sheet over his or her legs. Then remove the sheet and replace the person’s underwear and pants.
  • Elderly skin tends to get dry, so you may want to apply lotion to the arms and legs before putting their clothes back on.
  • Comb the person’s hair and apply cosmetics and other body products according to the patient’s preferences.

To read more on Patient Care, click on the link below.

Patient Care

Wheelchair Management

Wheelchair Management by Famhealth

A chair fitted with wheels for use as a means of transport by a person who is unable to walk as a result of illness, injury, or disability.

Types of Wheel chair

  • Weight
  • Backrest
  • Rear wheels
  • Front castors
  • Footplates
  • Hybrid
  • Reclining
  • Stand-up
  • Sports chair
  • Pediatric chair

Management:

  • An assessment may be done to evaluate the patient’s need for a wheelchair.
  • This may include the patient’s strength, living situation, weight, skin integrity, etc. Once the patient’s needs are established, measurements are taken prior to ordering the equipment.
  • Wheelchair management also trains the patient in functional activities that promote optimal safety, mobility and transfers.
  • Patients who are wheelchair bound may occasionally need skilled input on positioning to avoid pressure points, contractures, and other medical complications. 
  • May be part of an active treatment plan directed at a specific goal.
  • The patient must have the capacity to learn from instructions.
  • Typically 3-4 total sessions should be sufficient to teach the patient these skills.

To manipulate the brakes

  • To reach the right brake:
  • Hook the left elbow behind the left chair handle.
  • Lean forward and to the right, allowing the left biceps to lengthen as the trunk movement occurs.
  • To release the brake, use flexion of the elbow and shoulder to push the lever forward with the palm of the hand or the lower part of the supinated forearm  To apply the brake, pull the lever back using the right biceps and either the extended wrist or the supinated forearm
  • To remove the armrest
  • Most armrests now tend to flip-up

To read more on Patient Care, click on the link below.

Patient Care

Post Transplant Surgery Care

Post Transplant Surgery Care by Famhealth

After transplant, your decisions and dedication to your own self-care at home will be vital to your health and the success of your transplant. The following life style changes are advised .To have the best outcome as a transplant recipient.

  • Know all your medications: doses, times and why you are taking them and what to avoid while taking medications.
  • Follow your medication schedule daily and make changes only as ordered by your transplant physician.
  • Maintain routine contact with your transplant team through your transplant coordinator.
  • Attend follow-up appointments and/or transplant clinic as instructed.
  • Have blood tests drawn routinely as required.
  • Monitor your weight, blood pressure, and temperature as required.
  • Maintain a healthy lifestyle that includes a balanced diet, regular exercise, and routine check-ups.
  • Avoid smoking and drinking as it increase the chances of malignancies and vascular diseases (heart attacks and strokes)
  • If planning for a trip to abroad that requires immunization, you should ask the transplant team. Always carry the latest medical prescription and medicines.

Avoid infection by taking the following precautions.

  • Wash hands often and Stay away from people with colds or other infections.
  • If the patient has a wound and must change his own dressing, wash hands before and after.
  • Avoid handling animal waste and avoid contact with animals who roam outside.
  • Avoid working in the soil for 6 months after the transplant. Thereafter, wear gloves.

To read more on Patient Care, click on the link below.

Patient Care

How to Feed a Patient Comfortably

How to Feed a Patient Comfortably by Famhealth

Preparing a Client for Meal time :

  • Mealtime is a very important event.
  • Make it an enjoyable and pleasant experience.
  • See that the meal is served in as attractive manner and freshly prepared as possible.
  • Keep in mind all of the things that need to be done for each client before and after each meal.

Before Meal Care:

  • Wash the client’s hands
  • Before the meal, offer the bedpan or urinal or assist/ remind the client to go to the bathroom.
  • Provide oral care (dentures)
  • Assist the client to the dinning table, or in bed
  • Convenient position
  • Protect clothing with napkin, towel, or clothing protector.

Serving Meals

  • Serve meals promptly so food temperature is maintained.
  • Hot food should be served hot and cold foods served cold
  • Assist depending upon the type of feed

After-Meal Care :

  • When the client has finished eating remove the dishes and napkin, towel or clothing.
  • Assist the client to wash his hands and face.
  • Assist with or remind the client of oral care.
  • Note how much and what the client eats.

Caution:

  • CLIENTS SHOULD BE KEPT IN UPRIGHT POSITION FOR 1 HOUR AFTER MEALS TO MINIMIZE REFLUX INTO THE ESOPHAGUS (HEARTBURN).
  • IF A CLIENT IS COMATOSE, UNCONSCIOUS, OR UNRESPONSIVE, DO NOT GIVE ORAL LIQUIDS OR FOOD. UNCONSCIOUS CLIENTS OFTEN RECEIVE NUTRITION BY ANOTHER METHOD (TUBE FEEDING

To read more on Patient Care, click on the link below.

Patient Care

Patient Care in Plaster Casts

Patient Care in Plaster Casts by Famhealth

Meaning of plaster cast

Plaster casts are made up of a bandage and a hard covering (usually plaster of Paris). They allow broken bones in the arm or leg to heal by holding them in place, and usually need to stay on for 4 and 12 weeks.

Taking good care of your cast will help ensure a better recovery.

Plaster cast care advice

  • Keep your arm or leg raised on a soft surface, such as a pillow, for as long as possible in the first few days. This will help any swelling to go down and will help the cast dry correctly.
  • Don’t get your plaster cast wet. This will weaken it, and your bone will no longer be properly supported.
  • You can use a plastic bag to cover up the cast when you have a bath or shower.
  • Alternatively, it is possible to buy special covers for plaster casts to dry .If your cast gets wet, contact your hospital for advice as soon as possible.
  • Always remove the bag as soon as you came to avoid causing sweating, which could also damage the cast.
  • Even if the plaster cast makes your skin feel very itchy, don’t be tempted to poke anything underneath it, as this could cause a nasty sore. The itchiness should settle down after a few days.

More plaster cast tips

  • Exercise any joints that aren’t covered by the cast – such as your elbow, knee, fingers or toes – to help improve your circulation.
  • Avoid getting small objects, powders and sprays inside your cast, as they could irritate your skin.
  • Don’t try to alter the length or position of your cast.
  • Don’t lift anything heavy or drive until the cast has been removed.
  • Use crutches or a sling, as advised by your health professional.
  • Use painkillers if you experience any pain.
  • You can usually return to school or work with a cast, but you should avoid strenuous activities that may damage the broken bone or cast.

Plaster cast problems

  • If  plaster cast still feels too tight after keeping it elevated for 24 hours
  • If fingers or toes on the affected limb feel swollen, tingly, painful (even after taking painkillers) or numb
  • Fingers or toes turn blue or white
  • Cast feels too loose
  • Cast is broken or cracked
  • The skin underneath or around the edge of your cast feels sore
  • There is an unpleasant smell or discharge coming from your cast
  • If you have any concerns about your plaster cast, call NHS 111 for 24-hour advice.

To read more on Patient Care, click on the link below.

Patient Care

Preparing for Doctor’s Visit

Purpose of Consult a doctor or doctor visit are following  :-

  • To identify and diagnose about the signs and symptoms of your complaints
  • To get a medical treatment of the diagnosis
  • To regular follow up

Papers to Carry  

Medical History Card

Make sure you always bring along a record of your key information, including medical conditions, dates of past surgeries, current medications, doctors’ names and contact information, next of kin and contact information, health insurance and any drug allergies.

Changes to Your Medical Record

If you’ve received any new test results since your last visit, bring them with you, even if you believe your doctor has already seen a report. Having this information on hand at your appointment ensures that you’ll remember to discuss it with your physician. This is particularly important if you are seeing a new doctor or specialist.

Your Prescription Drugs

Before you leave home, gather all your medications and put them in a zip-lock bag. Tell your doctor if you’ve stopped taking any prescribed drugs or haven’t followed dosage instructions. Be honest: If you mislead doctors about prescription compliance, they may assume your medications are not working and prescribe even more.   

Journal of Your Symptoms 

If your visit is related to a new concern, you should be keeping a journal that documents your discomfort and how it has affected your daily life in the days or weeks since it began. If your appointment is focused on a chronic condition, your doctor may have asked you to keep track of your response to new at-home treatments; to record objective measures, like your blood sugar; or to note subjective perceptions, like the intensity of a recurring headache. Whatever the information, bringing the journal to your appointment can help your doctor better understand what has been going on.

List of Questions

List of Questions You should expect your physicians to be responsive to your concerns, but you need to do your part as well. Always come to an appointment with a list of questions prepared in advance. Brainstorm your questions well before your visit, then note down a concise list, arranged in order from most to least urgent. And don’t leave your doctor’s office without asking them.

Notebook and Pen

This may seem obvious, but it’s important to take notes throughout an office visit. If your doctor mentions an unfamiliar term, get him to spell it out. Don’t hesitate to push for clarifications. At the end of every visit, request a verbal summary and write it down. Before you leave the exam room, review what you’ve written about your treatment plan; if there’s anything you don’t fully understand, ask again.

Friend or Family Member 

Having someone with you can provide crucial moral support. But it’s also a valuable means of ensuring that your doctor addresses your most important questions. A friend or relative may not be able to sit in during the physical exam, but he or she should be welcome when you and your doctor discuss diagnosis, testing or treatment. That’s when a companion can remind you of your primary questions and concerns.
 
Your Smartphone 

There is always some downtime during an office visit. It’s also useful to have your phone on hand if it carries your calendar so you can schedule follow-up visits and screenings.

Snacks

Snacks so you can maintain your energy and mood.

Filing tips/ maintaining medical records

The first step in organizing your personal medical record is to collect hard (physical) copies of as much information about your treatments and diagnoses as you can from all your caregivers, including physicians, nurse practitioners, physiotherapists, psychologists, etc. Keep in mind that federal law requires all doctors and medical facilities to allow you access to your medical records.

  • Remember to be polite and patient when asking to access your medical files. Tell them it’s to establish your own personal records. Some doctors and medical facilities might be hesitant to allow you access due to fear of malpractice litigation.
  • Your caregiver may need some time to organize your medical information because it may not all be in a single file. Schedule an appointment to come back if that’s the case.
  • Keep in mind that a personal medical record combines all the medical information collected by each caregiver/medical facility that you’ve been to into a single file that’s easily accessed.
  • While law gives you the right to access most of your Patient Health Information (medical records, imaging, test results, billing records, etc.), some types of information are exempted. For example, you do not have a right to access psychotherapy notes (i.e., notes taken by a mental health professional during a counseling session) or documents compiled for use in a civil or criminal proceeding like medico legal cases.

Copy all the documents in your medical files. Once you’ve notified the caregiver of your intentions and they’ve organized your medical information, it’s time to make copies of it all. Your personal medical record should include copies of all test/lab results, diagnoses, treatment reports, radiology reports, progress notes insurance statements and referrals from each caregiver/medical facility you’ve visited. Don’t expect the actual caregiver to copy your file for you. Likely their support staff will be the ones to do the actual copying.

  • Although you own your medical information, you don’t own the actual paper, files and x-rays that your info is on, so don’t expect to walk out with the originals. You’re only entitled to copies from the originals.
  • Your caregiver/medical facility has the legal right to charge you a copying fee, so ask how much it might cost. They may charge per page or a flat fee for the copying service and it may vary according to the hospitals.
  • You’ll likely need to sign a release form at every facility that you request records from.

To read more on Patient Care, click on the link below.

Patient Care

Content Courtesy : Portea

Patient Care by Famhealth


PATIENT CARE

Its symptoms and solutions

Caring for a patient becomes priority for caregivers once the patient reaches home after the hospital.
Knowing certain facts about a patient care not only aids faster recovery but improves the quality of life
during that time..


Preparing for a Hospital Visit

A good understanding of various perquisites before visiting a doctor or a hospital can ease your life.
Here are some facts which you must be aware before visiting a health care department.


Self Care for Minor Health Concerns

Minor health issues hamper day to day life activities and at times result in low performance at work
place. Here are some ways which can help you dealing with these minor issues at an early stage.


Self Care for Major Health Concerns

Major health issues if ignored can further complicate the medical condition. Here are some easy steps
which you can follow to recover from a major health concern at its earliest.


General Healthcare

Caring for your health on day-to day basis is a key to happy and healthy life. Here are some simple
healthcare methods that one should follow to prevent major health concerns.


Patient Care

Here we bring you some patient care management techniques which boost the health of the patient
and assists speedy recovery.