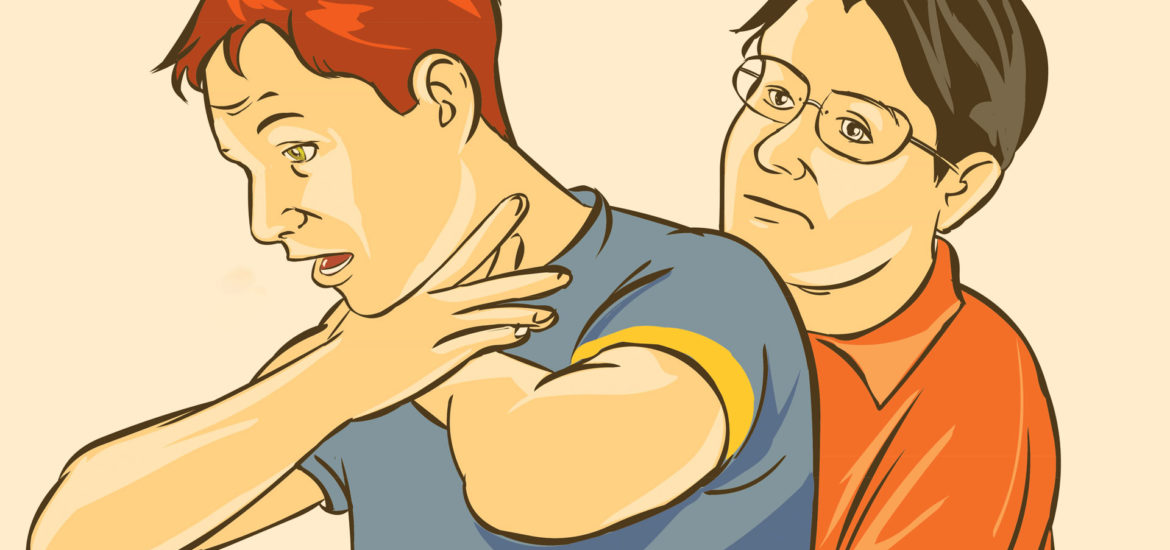

First Aid for Dog Bite
A dog bite can lead to rabies or tetanus infection. Immediate medical care is required when the bite is from a dog that has, or might have, rabies.
Symptoms
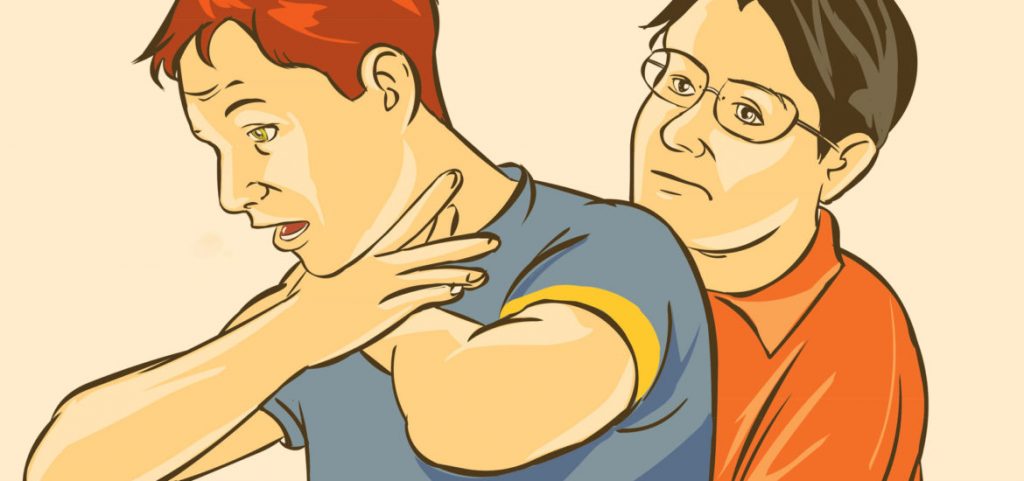
Symptoms of infection include redness, swelling, increased pain and oozing. A doctor should look at these symptoms right away.
India accounts for 20,000 of the 45,000 deaths due to rabies every year. Over 95 percent of the time rabies virus being transmitted through dog bites.
Treatments
Always remember it’s very important to see a doctor, especially if an unfamiliar dog bit you, the bite is deep, you can’t stop the bleeding, or there are any signs of infection (redness, swelling, warmth, pus).
Treatment at home.
- Place a clean towel over the injury to stop any bleeding.
- Try to keep the injured area elevated.
- Wash the bite carefully with soap and water.
- Apply a sterile bandage to the wound.
- Apply antibiotic ointment to the injury every day to prevent infection.
When you go to a doctor to treat the dog bite, be prepared for answering these questions:-
- Do you know the owner of the dog?
- If so, is the dog up to date on all vaccinations, including rabies?
- Did the bite occur because the dog was provoked, or was the dog unprovoked?
- What health conditions do you have? People with diabetes, liver disease, illnesses that suppress the immune system, and other health conditions may be at greater risk for a more severe infection.
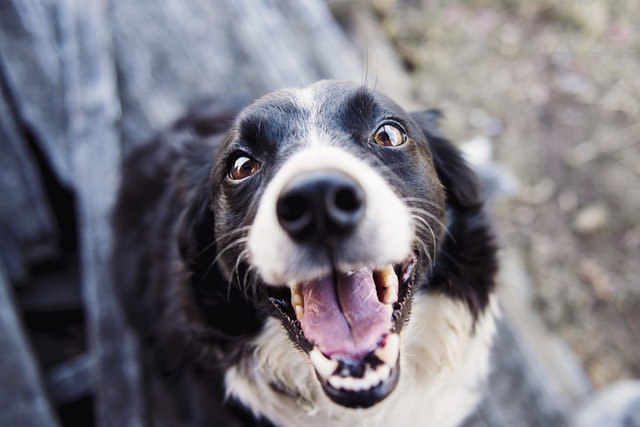
Prevention
Steps to prevent dog bite.
- When choosing a dog for a family pet, pick one with a good temperament.
- Stay away from any dogs you don’t know.
- Never leave young children alone with a dog — especially an unfamiliar one.
- Don’t try to play with any dog that is eating or feeding her puppies.
- Whenever you approach a dog, do so slowly, and give the dog the chance to approach you.
- If a dog becomes aggressive, do not run away or scream. Stay calm, move slowly, and don’t make eye contact with the dog.
To read more on First Aid, click on the link below.